It’s easy to set up a carousel mode using the WP Carousel Pro plugin. Follow the steps below:

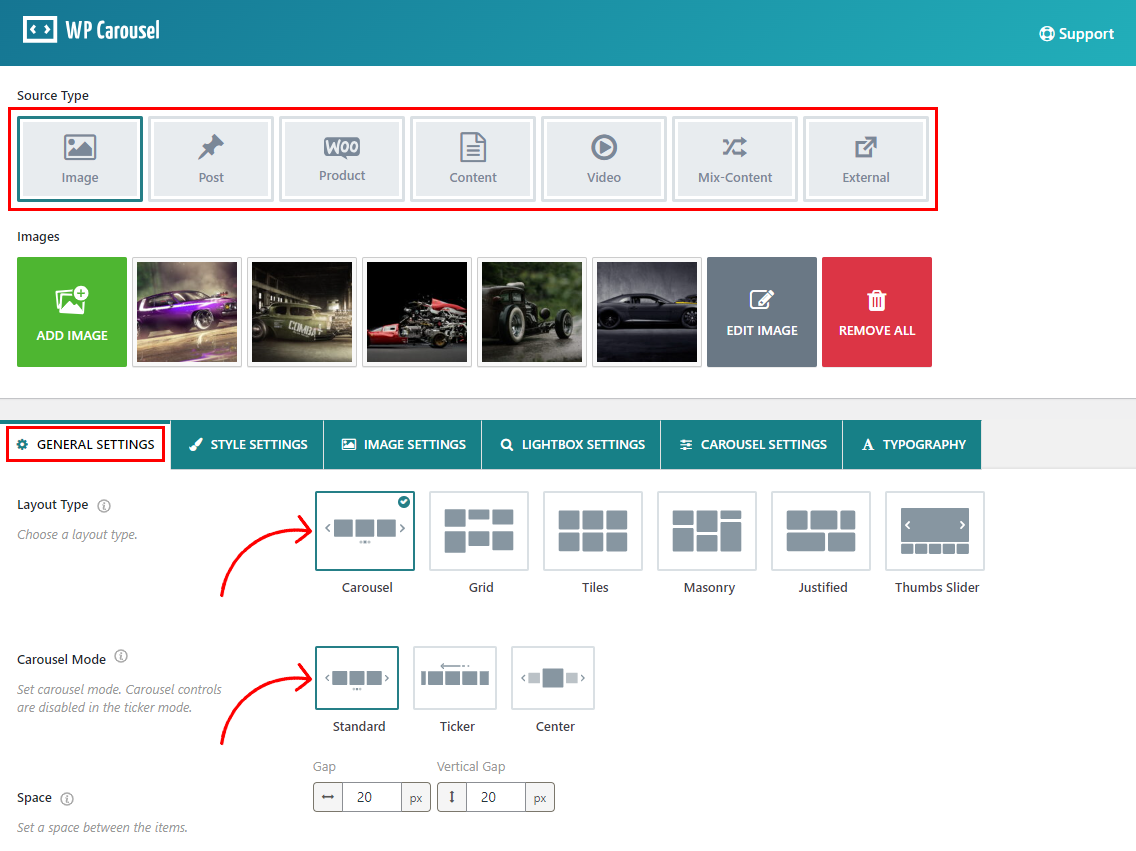
1) Navigate to the General Settings tab.
2) Select Layout Type > Carousel (by default, the carousel is selected).
3) You will see three different Carousel Modes there:
- Standard
- Ticker
- Center
Choose any of them according to your preference.
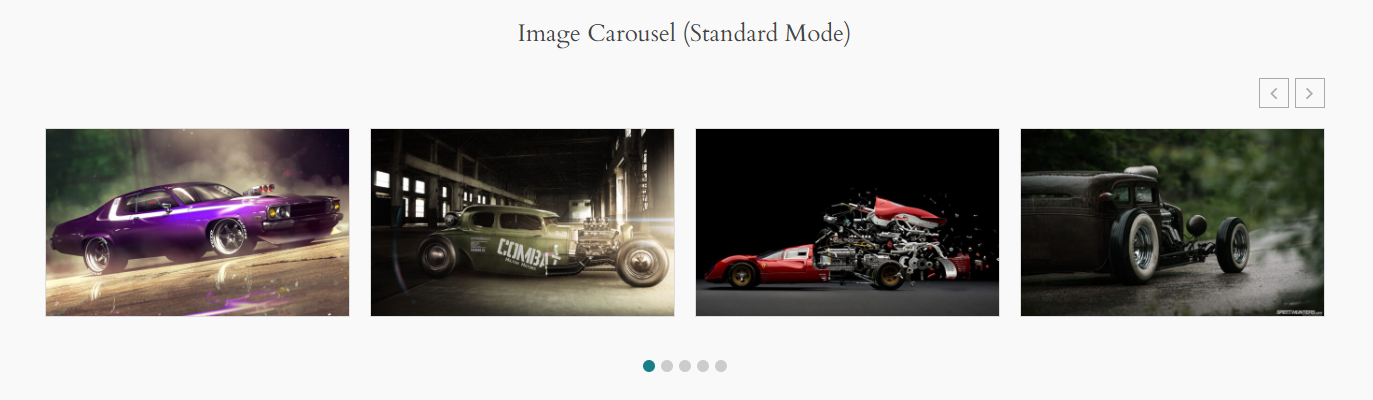
a) Standard: The Standard Carousel Mode is a feature that displays various types of content on your website. You can choose from images, products, or posts depending on the Source Type you have selected for your carousel. The carousel will arrange the items in either a horizontal or vertical sequence. If you prefer a vertical orientation, you can select this option from the Carousel Settings. To navigate through the content, you can use the next and previous buttons. The plugin offers a range of customizable options to tailor the carousel to your specific needs.
The final output would be something like below:
b) Ticker: When you choose the Ticker Carousel Mode, you can showcase your website content such as images, posts, or products in a carousel. The carousel displays a scrolling list of items in a continuous loop, making it easy for your users to browse through your content seamlessly. Additionally, the plugin provides a wide range of highly customizable carousel settings to suit your preferences.
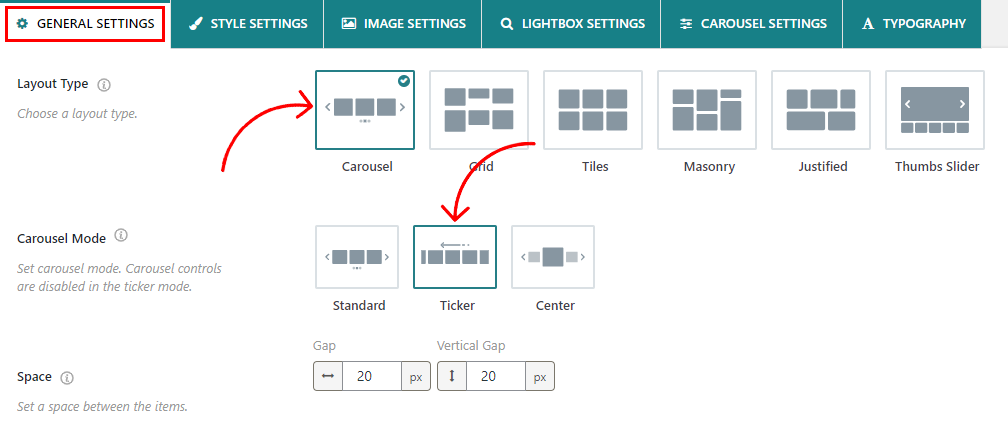
The final output would be something like below:

c) Center: The Center Mode Carousel prominently displays the central item in the carousel and is larger than the surrounding items. This design choice is visually appealing and can draw attention to a featured or highlighted item in the carousel.
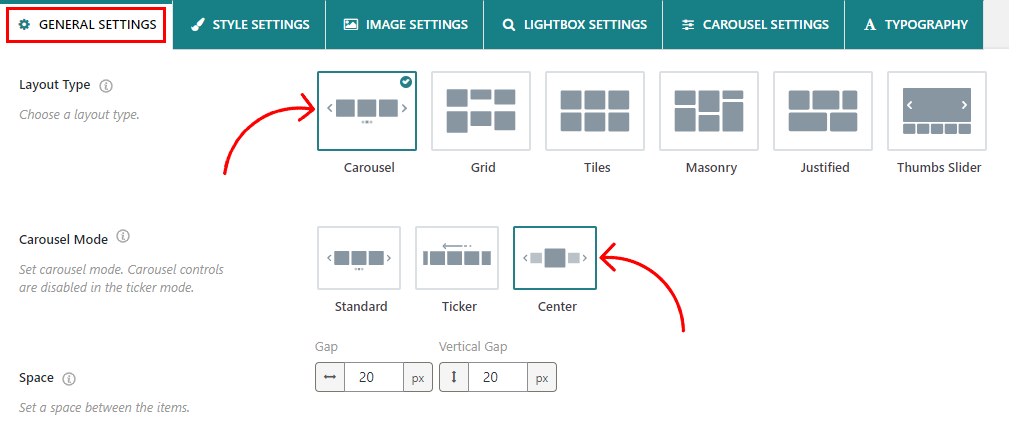
The final output would be something like below: