After purchasing the plugin, you may look forward to a quick guide where you will get all the information from installation to displaying the WooCommerce Gallery Slider on your product’s single page. In this article, you will get step-by-step guidelines to use the plugin in no time.
Installation
After downloading the plugin, you’ll find the files in a zip folder on your computer named woo-gallery-slider-pro.zip. Please follow the steps below to install the “Gallery Slider for WooCommerce Pro” version.
1. Go to your WordPress website Dashboard.
2. Navigate to Plugins→ Add New→ Upload Plugin.
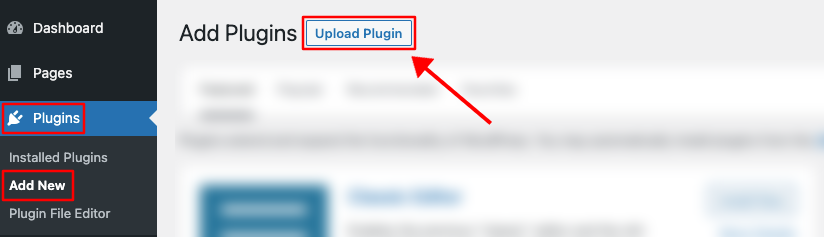
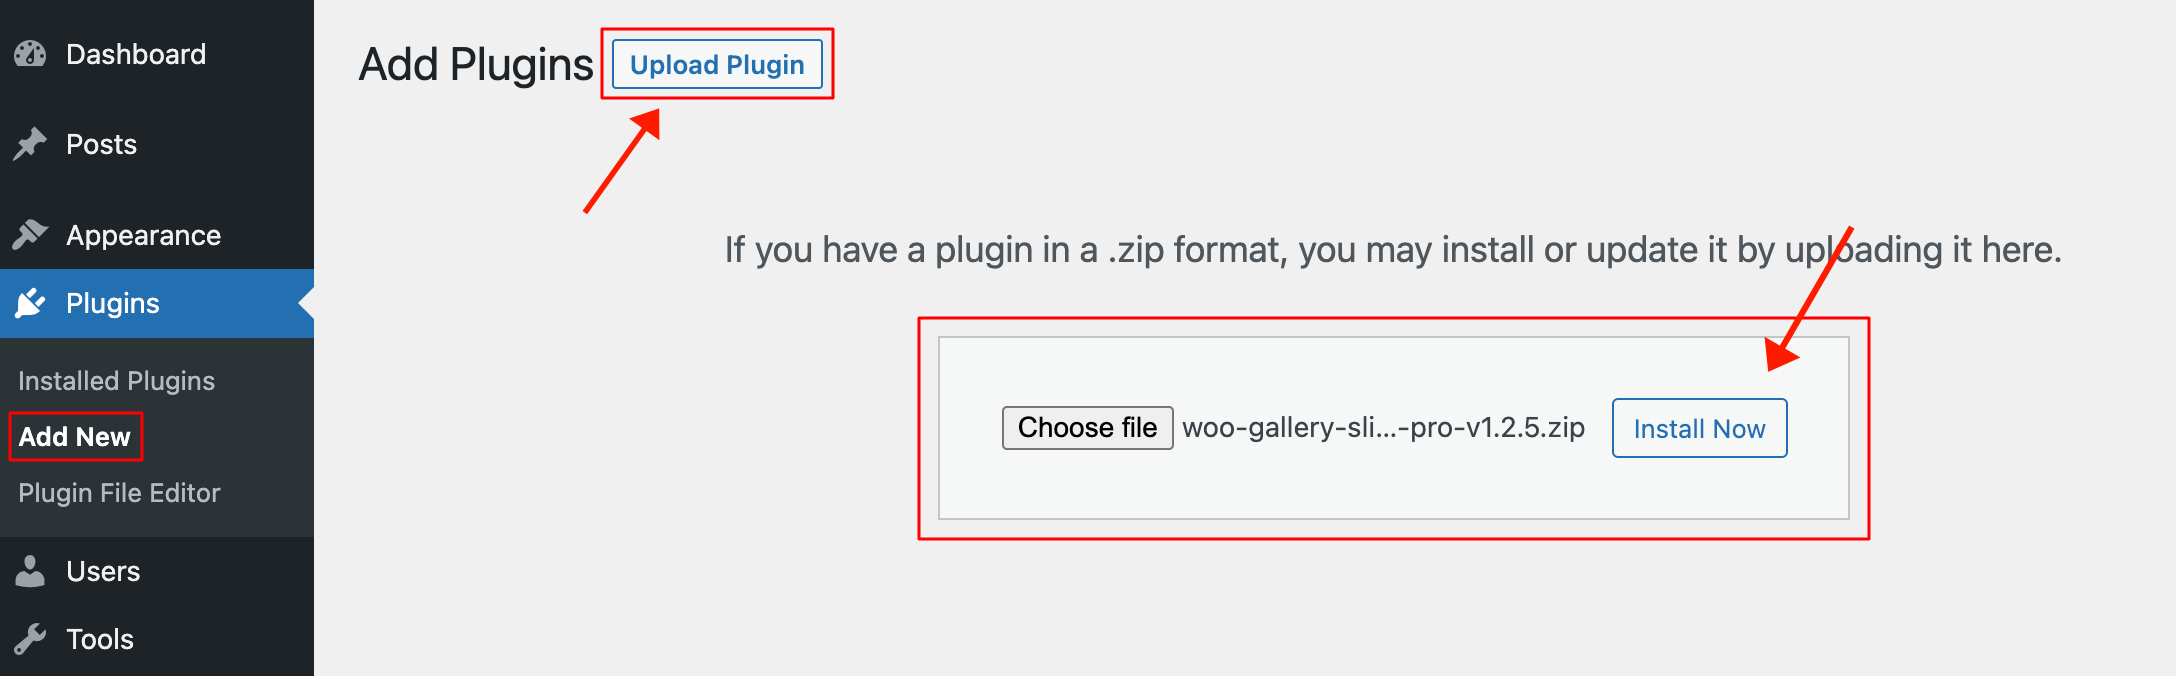
3. Once you click the “Upload Plugin” button, you will get the plugin upload option from your computer. Select the “woo-gallery-slider-pro.zip” file from your computer and click the “Install Now” button.
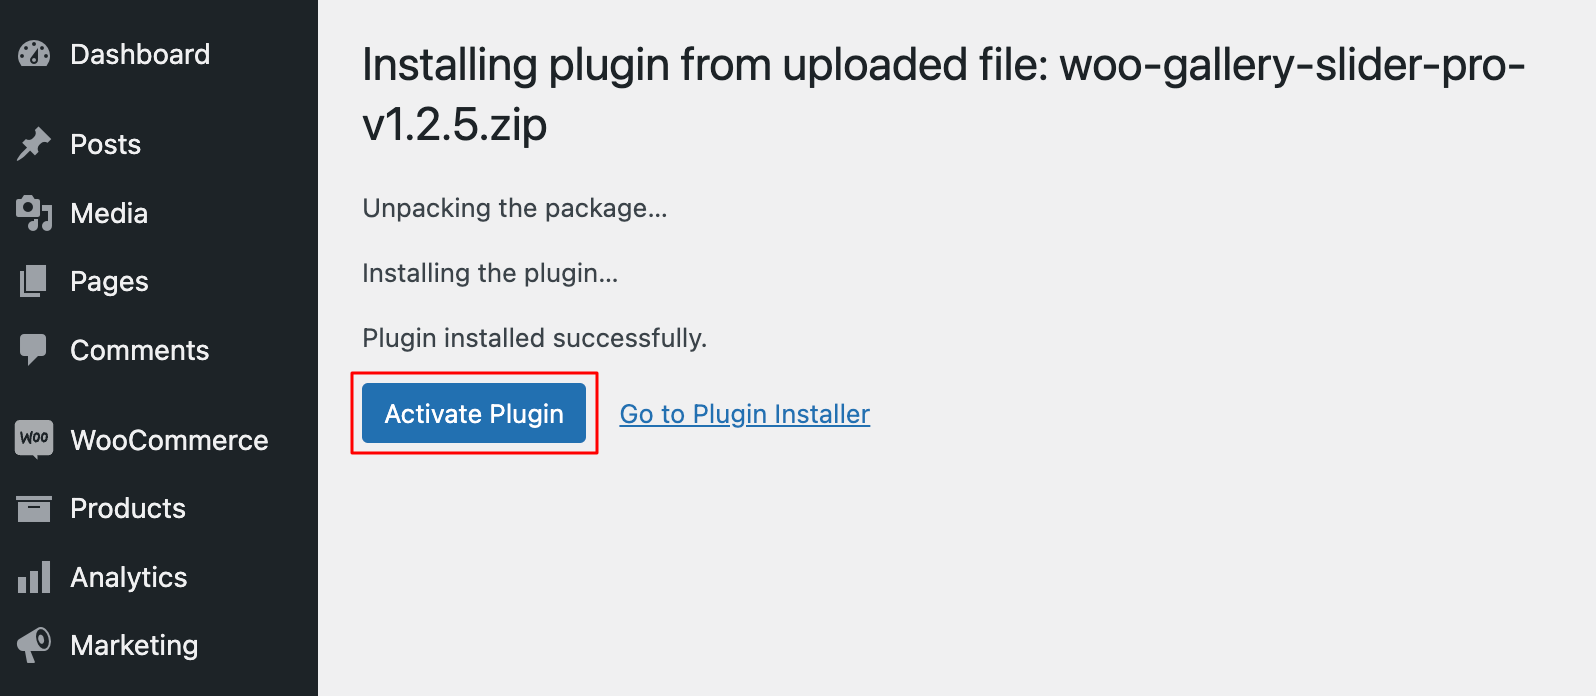
4. After successfully installing the plugin, click “Activate Plugin “ to activate the plugin.
License key Activation
After activating the plugin, you will be redirected to the License Activation page. Get the License key from your Shapedplugin Account and insert it into the License Activation Field.
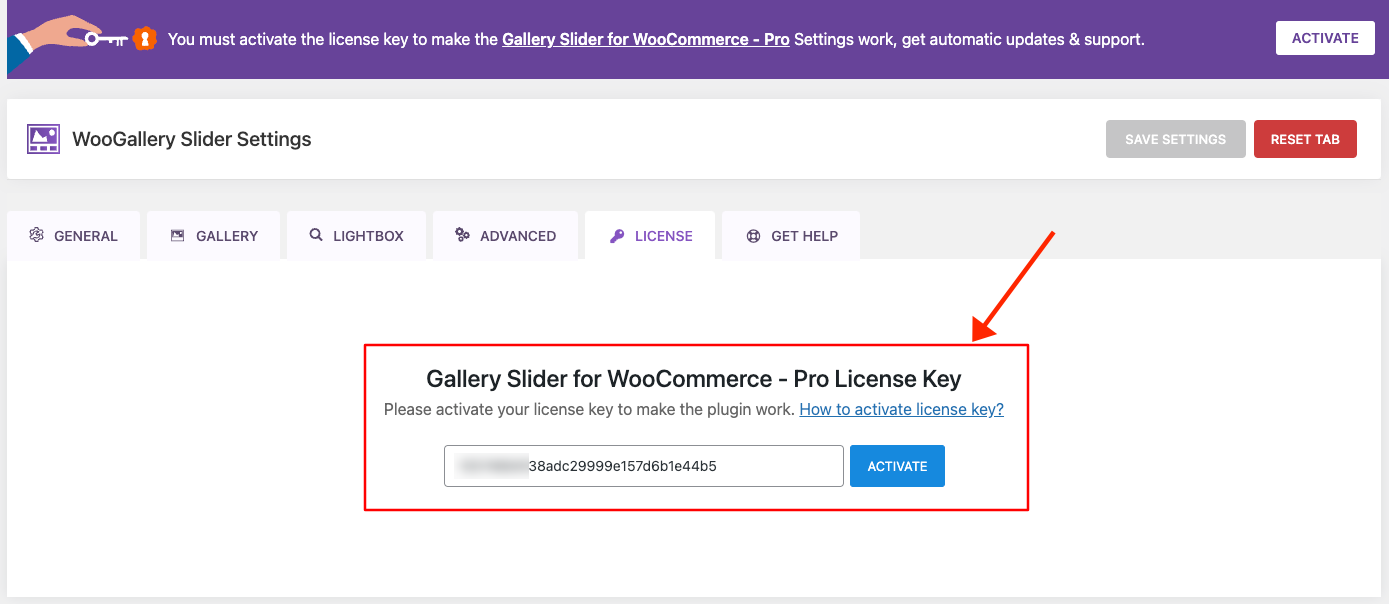
After activating the License Key, you are ready to show the Gallery Slider of your products.
Display Product Gallery Slider
Simply upload product gallery images to the product editing page to see Gallery Slider on the Product Single Page.
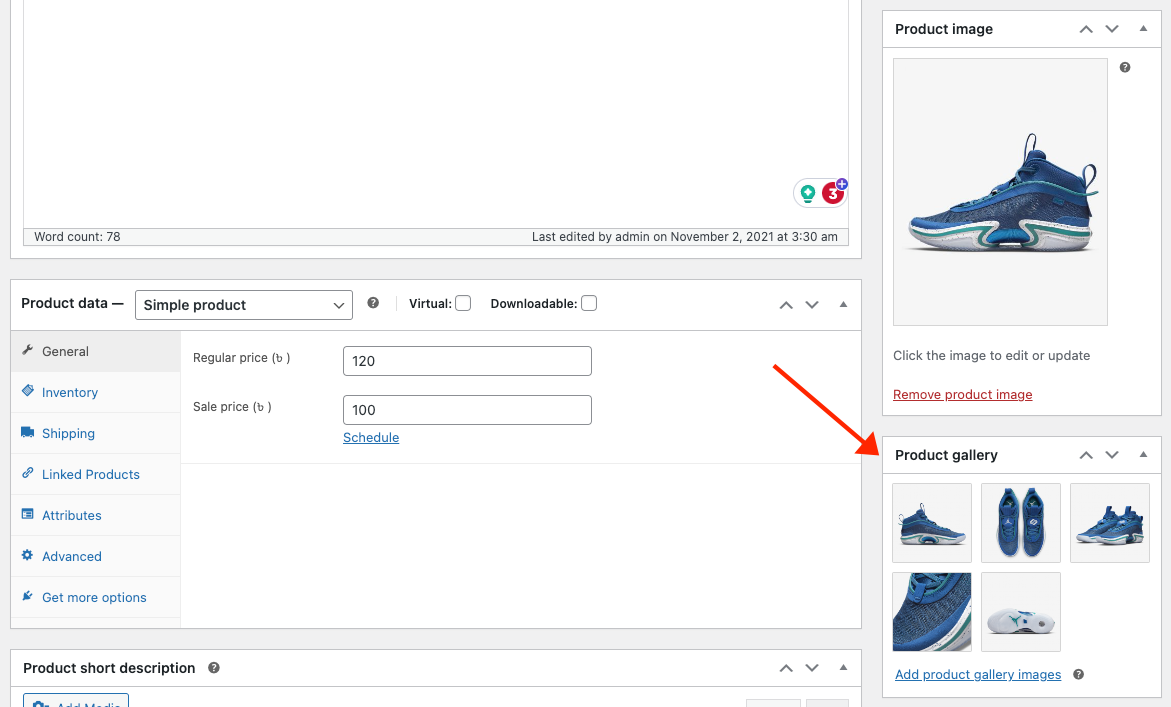
After doing so, go to a Product Single Page, and you will see the Gallery Slider showing like below:

More Demos Here→
There are many options (Gallery Layouts, Gallery Width, Slider Orientation, Add Variation gallery, Videos, and more) to customize the Gallery Slider.
Watch the video to see the visual demonstration of the above steps: