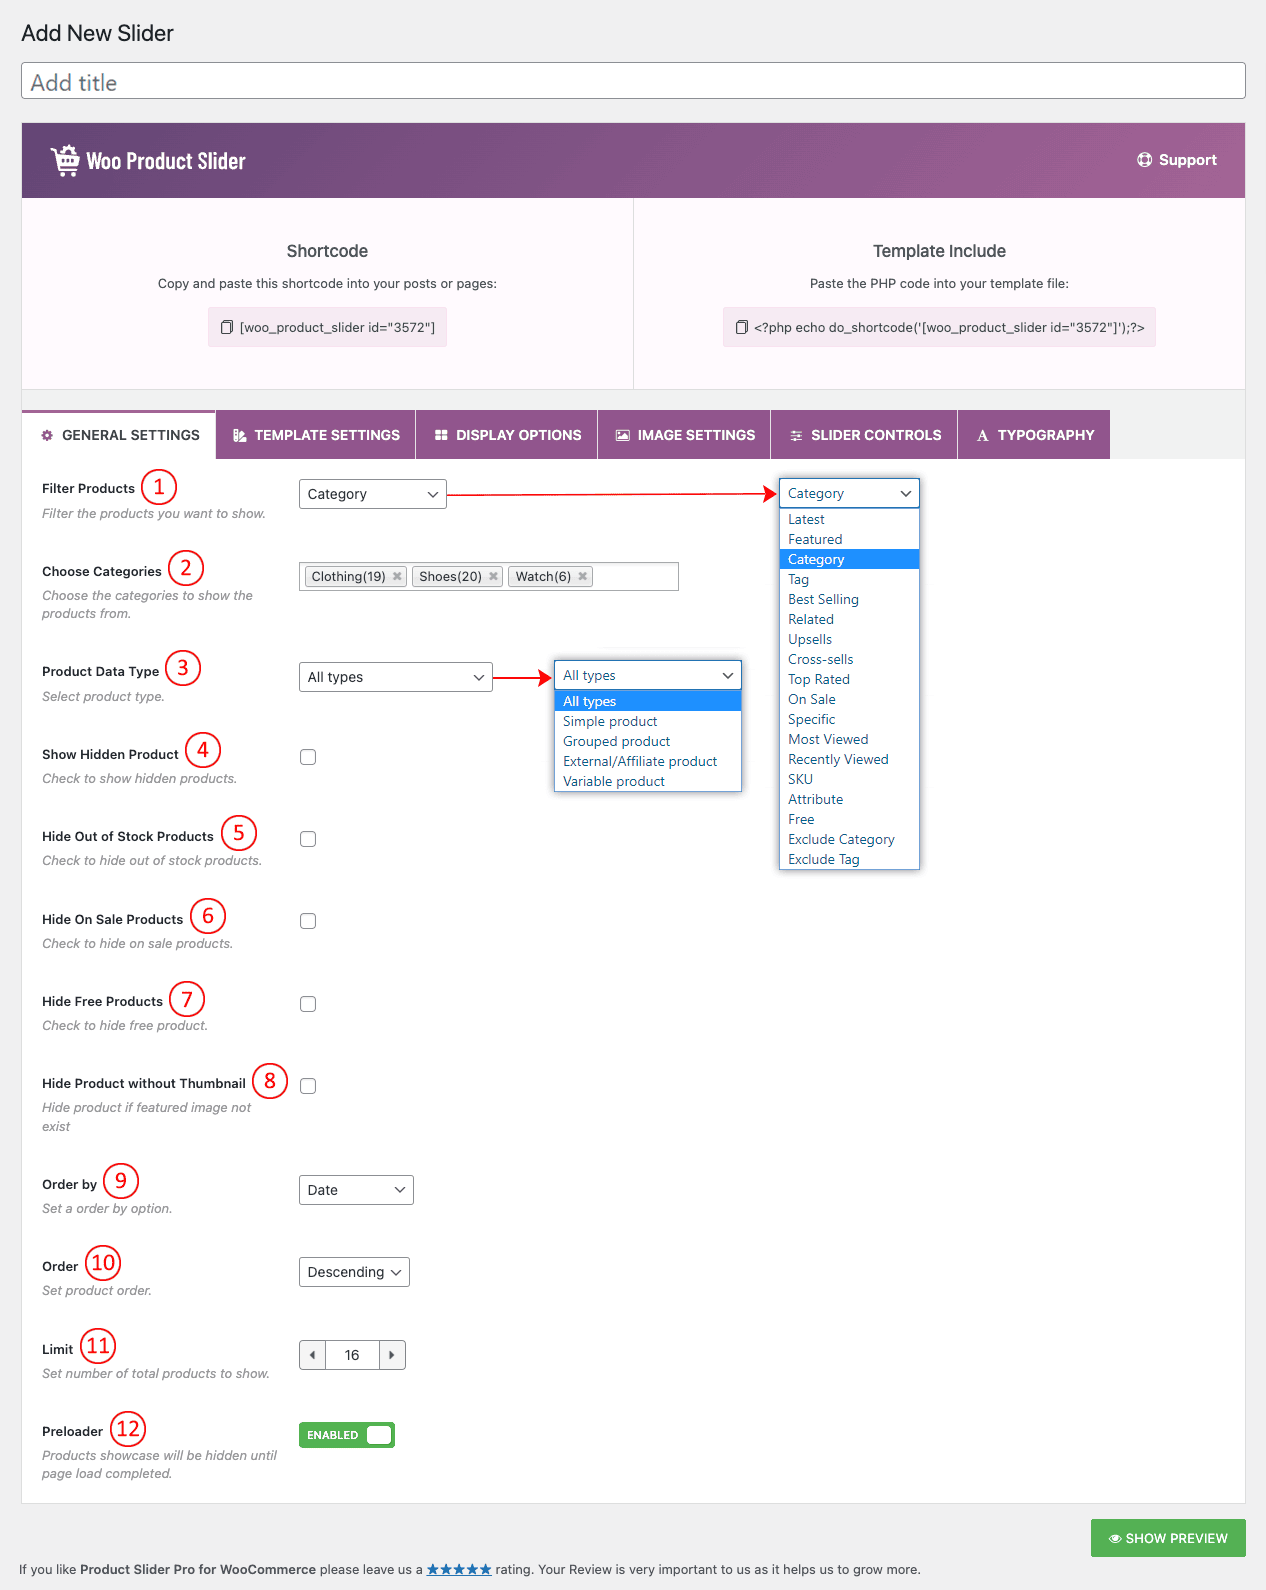
(1) Filter Products: Select any filter to specify which product type you want to display on the slider. You can choose from 18 different filter options. They are:
(i) Latest: This term is used to show all the newest products you have added to your WooCommerce product option.
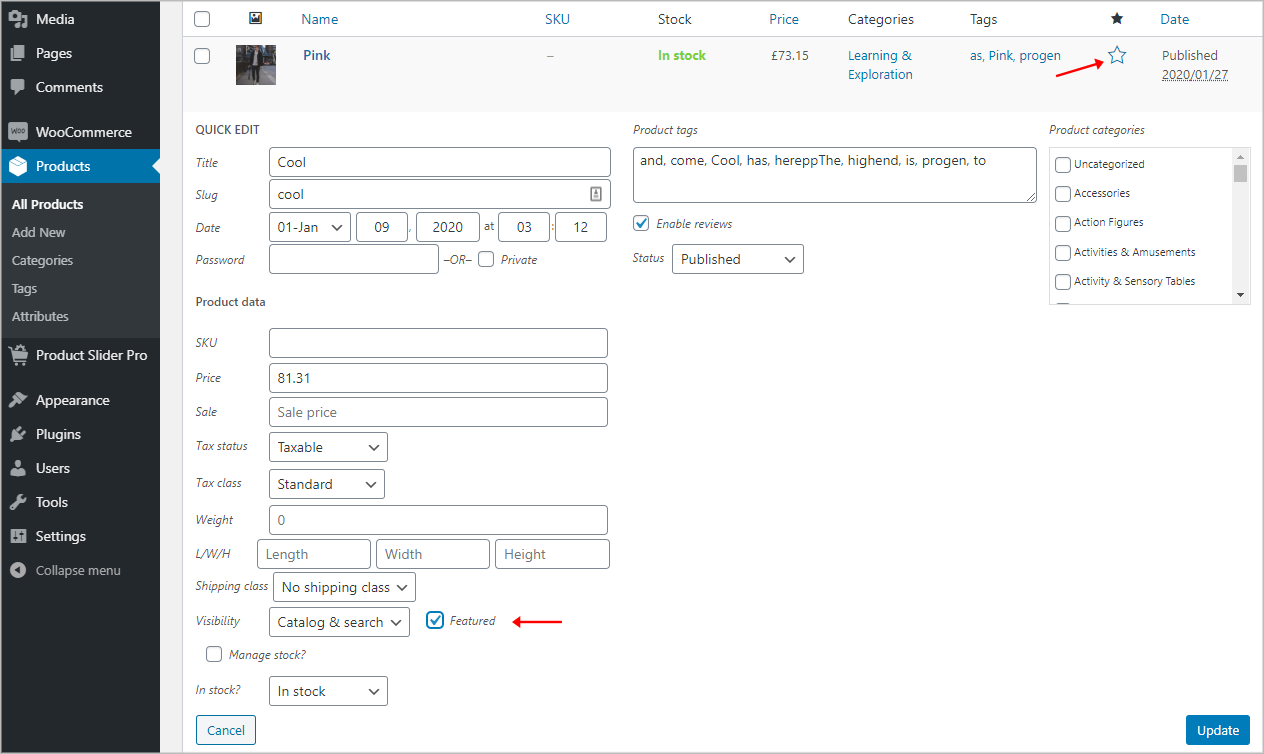
(ii) Featured: Featured products permit you to display specific products in various parts of your online store. You can control them by switching them on and off. To mark a product as featured, go to Products → All Products and select the Star in the featured column. Alternatively, select Quick Edit and then check the Featured option. You can create a featured product carousel with this option.
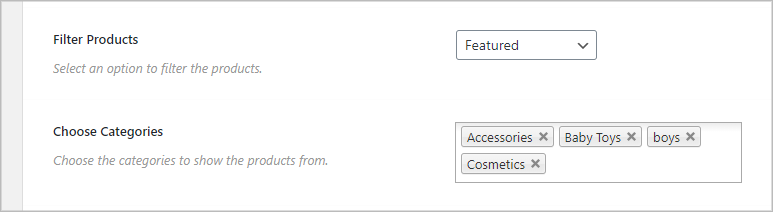
(iii) Category: Product categories are the prime way to group products with similar features. You can set as many categories as you wish to display in the WooCommerce Product Category Slider.

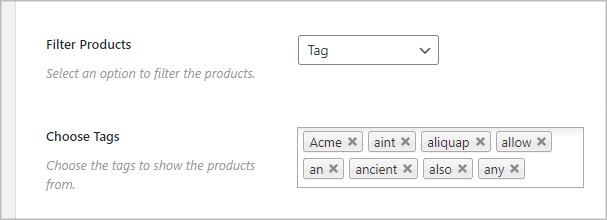
(iv) Tag: Product tagging is the way to organize and identify products with special features or information the customer may need. Tags can also help provide metadata about your site to search engines for better placement in search results. Tag options are virtually limitless. You can assign as many or as few tags as necessary to help organize and describe your products. You can create a product slider by selecting the product tag with this option.
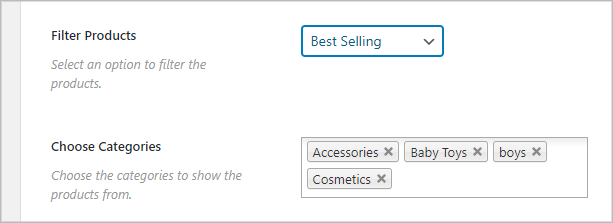
(v) Best Selling: Best Selling indicates the highest purchased products by the user from your site. Select this attribute to create a carousel of lead-selling products.
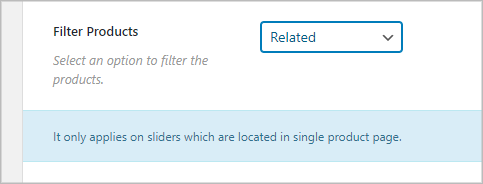
(vi) Related: Related Products is a section of certain formats that pull products from your store that share the same tags or categories as the current product. These products cannot be specified by the admin but can be influenced by grouping similar products in the same category or by using the same tags. To Create a Related product slider follow the below instructions:
- Create a Product Slider and give a Title for your slider.
- Select Related from Filter Product Option and publish.
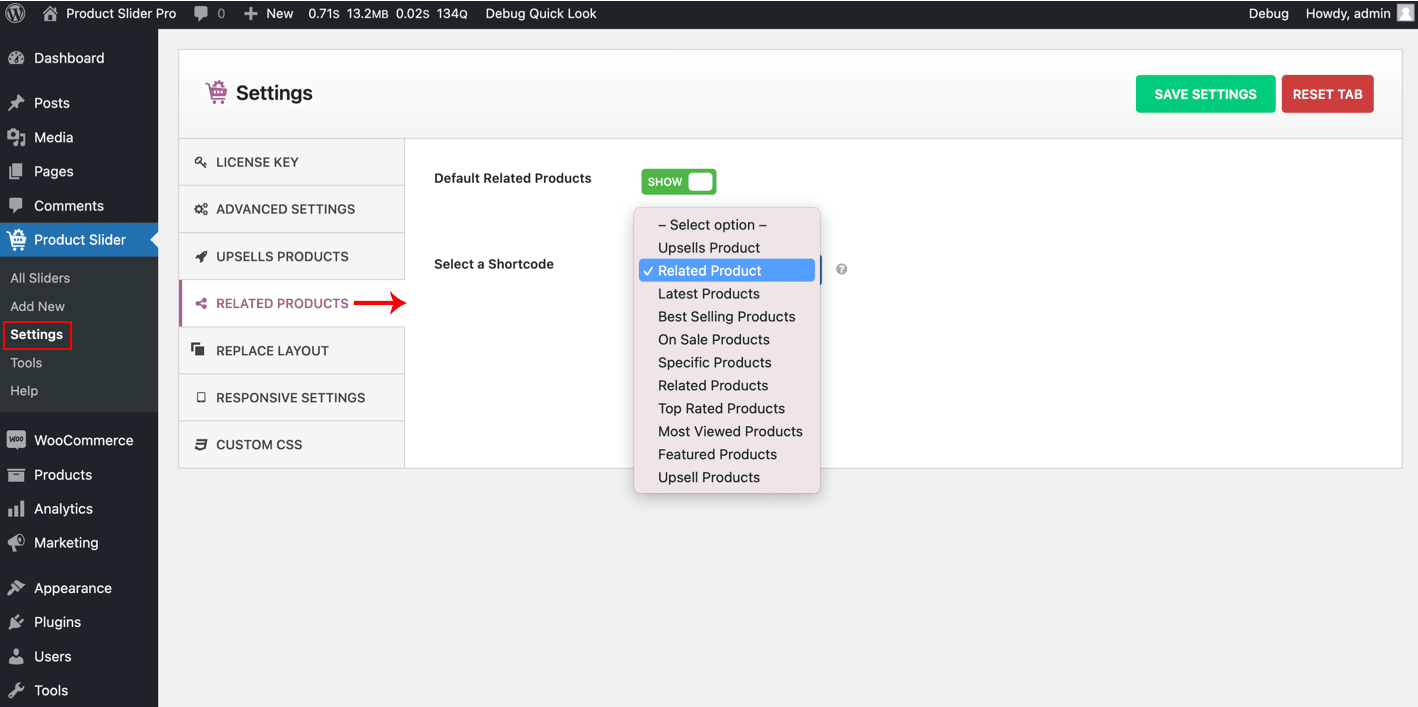
- Then go to your Product Slider Settings.
- Click on Related Product Option.
- Show/Hide Default Related Products.
- Select The Product Slider Title you have created from Select Related Product Shortcode and save Changes.
- Remember Related Product is only applicable for a single product page.
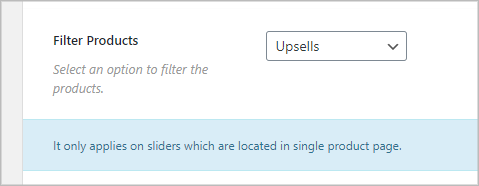
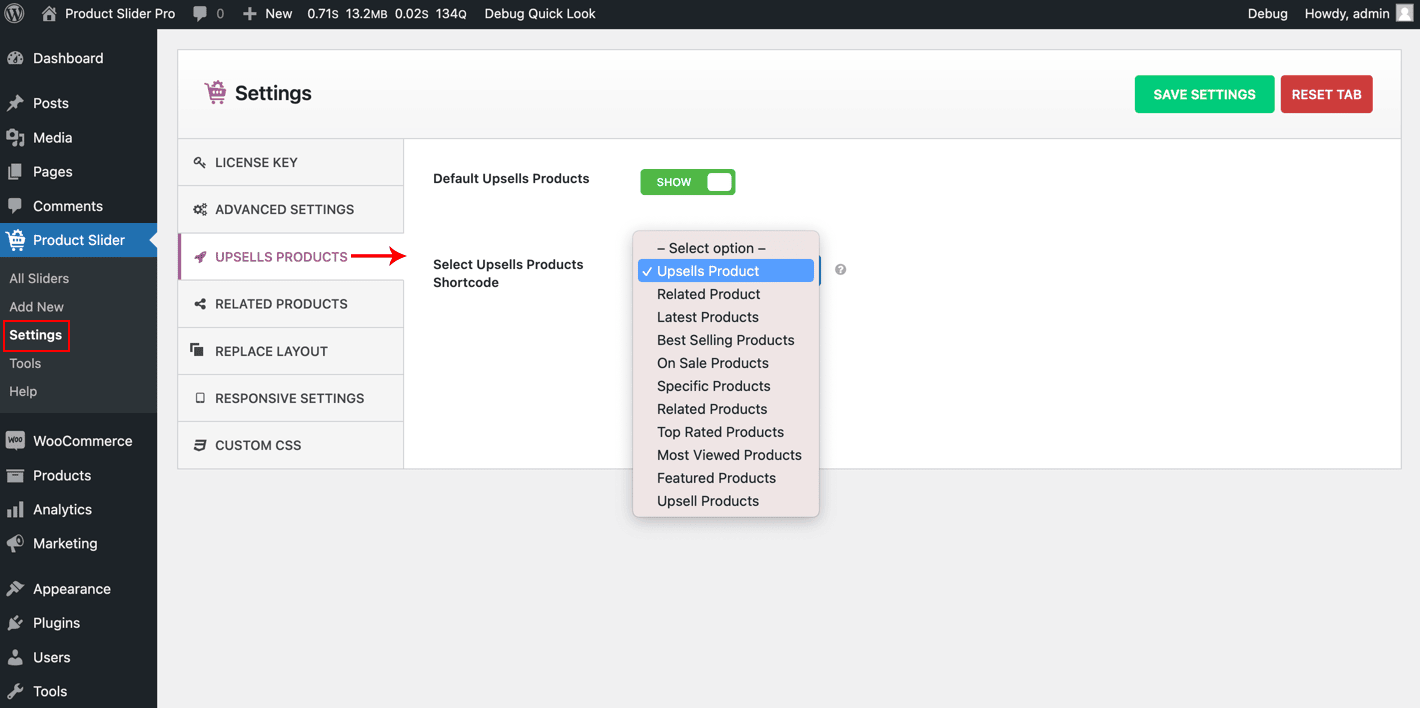
(vii) Upsells: Upsells are displayed on the product details page. These are products that you may wish to encourage users to upgrade, based on the product they are currently viewing. For example, if the user is viewing the coffee product listing page, you may want to display tea kettles on that same page as an up-sell. To Create an Upsell Product Slider follow the steps given below:
- Create a Product Slider and give a Title for your slider.
- Select Upsells from the Filter Product Option and publish.
- Then go to your Product Slider Settings.
- Click on UPSELLS PRODUCTS.
- Show/Hide Default Upsells Products.
- Select The Product Slider Title you have created from Select Upsells Product Shortcode and save Changes.
- Remember Upsells Product is only applicable for a single product page.
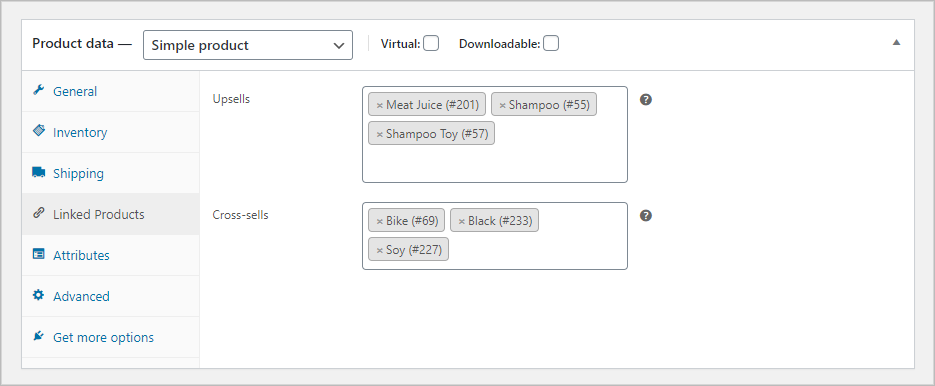
(viii) Cross-sells: Cross-sells are products that you promote in the cart, based on the current product.
They are typically complementary items. For example, if you are selling a laptop, cross-selling might be a protective case or stickers, or a special adapter. Or if you’re selling a ninja t-shirt, they could be a ninja hoodie and ninja socks.
To add an up-sell or cross-sell to a product:
- Go to WooCommerce > Products and select the product on which you’d like to show an up-sell or cross-sell.
- Scroll down to the Product Data panel.
- Select the Linked Products tab on the left menu.
- Add the product you wish to link to by searching for it.
- Update.
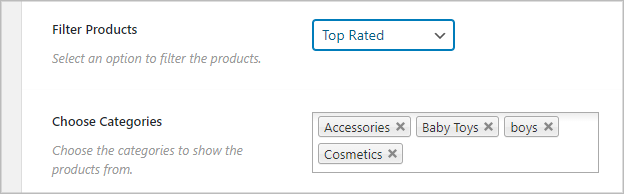
(ix) Top Rated: WooCommerce top-rated module is useful if you want to showcase the products that have the highest rating according to the customers’ reviews. Use this option to showcase a Top Rated product Carousel.
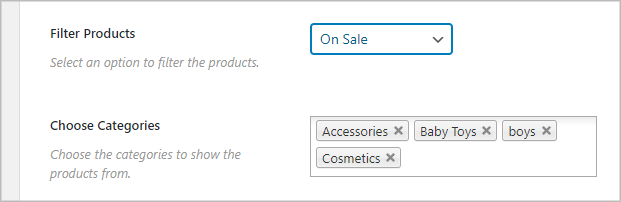
(x) On Sale: On sale indicates the available product on the shop page that a customer can purchase. Use this parameter to display the On-sale products in the carousel.

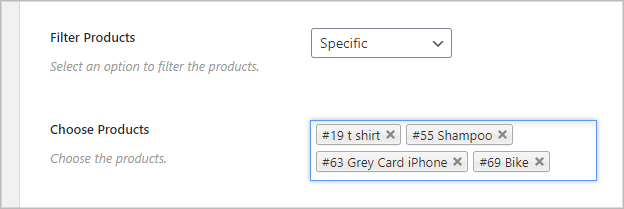
(xi) Specific: With this option, users can set their desired products to showcase in the carousel. Set as many products as you wish.
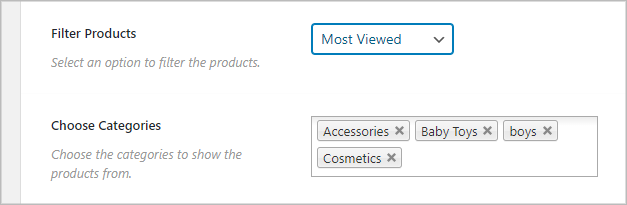
(xii) Most Viewed: It simply allows the merchant to show the most viewed products’ of his store on the product detail page and also at any place throughout the site by adding produced shortcodes of our plugin.
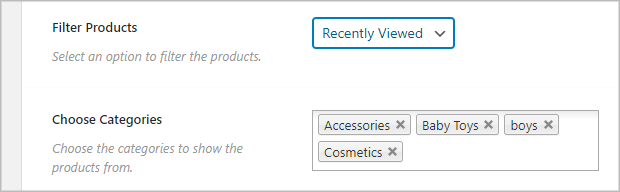
(xiii) Recently Viewed: Choose this option to create a carousel of Recently viewed products.
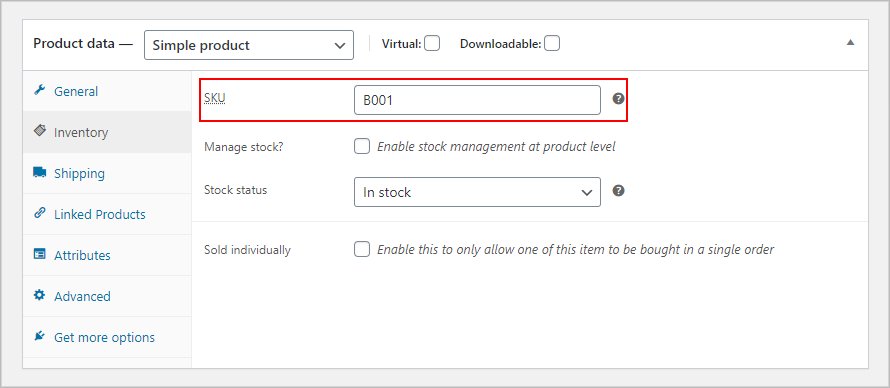
(xiv) SKU: SKU is a Stock Keep Unit, used to trace products. SKU is an identification, usually alphanumeric, of a particular product that allows it to be tracked for inventory purposes. Typically, SKU is related to any available item in a store.
To set an SKU value First click Edit or Add a New product then scroll down and you will find an option named Inventory, click and put an SKU value as you want.

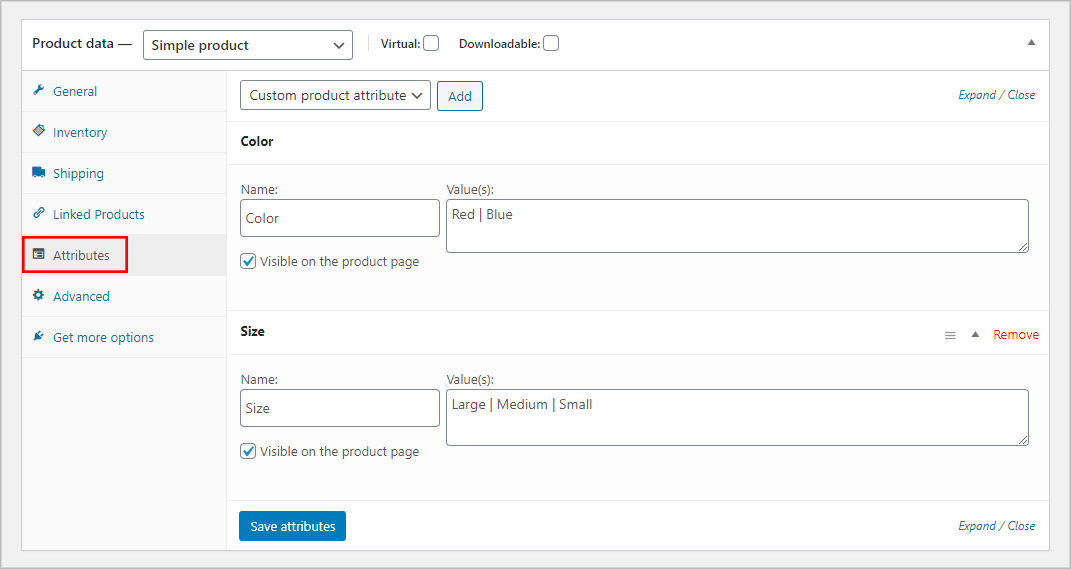
(xv) Attribute: Attributes add extra data to your WooCommerce products.
Attributes are also useful for searching and filtering products. If you give attributes to products, users can filter using them. Often this filtering is done by WooCommerce widgets that allow users to filter products. Attributes are confused with Variations but they are different. Variations are not for searching or filtering. Variations allow users to choose different options for a product. This means you can sell a T-Shirt in different sizes and colors. Part of the confusion is that Attributes and Variations often rely on each other to work effectively. For example, variations are based on attributes. Creating attributes is an essential first step before creating variations. To create and set the attribute to your product follow the instructions:
- Go to “Products” and then “Attributes” from your left sidebar menu.
- Fill the fields (Name, slug, Type, Default Sort Order).
- Select a product to edit or Add New Product.
- Scroll down to the Product Data section.
- Click Attributes.
- Click Add.
- Name your Attribute and add your values. Make sure to separate each value with a pipe (|). For Example Small | Medium | Large.

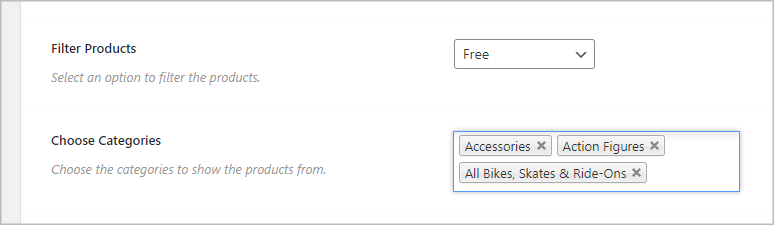
(xvi) Free: Choose this option to create a carousel with only free products.
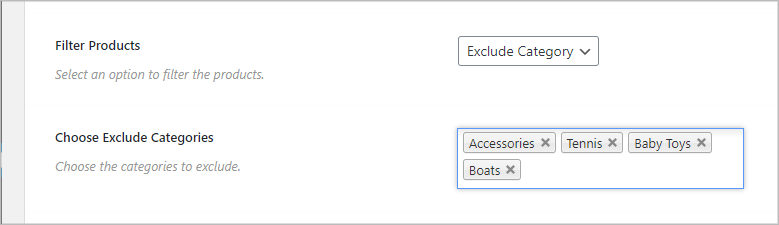
(xvii) Exclude Category: If you don’t want to include any specific category then you can exclude it using this option.
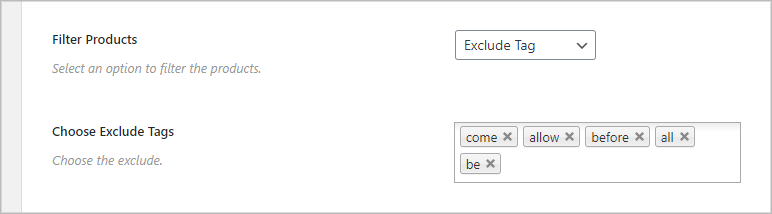
(xviii) Exclude Tag: If you don’t want to include any specific Tag then you can exclude it using this option.
(2) Choose Category: This option will appear based on your Filter type selection. You can specify the product/category/tag name in this field.
(3) Product Data Type: There are five different Product data types available in the plugin. They are:
- All: Selecting this option will show all WooCommerce product types in the Carousel.
- Simple Product: Choosing this option only the Simple Product type will be displayed in the Carousel.
- Grouped Product: This option will allow you to show only Grouped Products on the carousel.
- External/Affiliate Product: Set this option to create an exhibition of the External/Affiliate Product type.
- Variable Product: Only the variable product type will be shown when you select this option.
(4) Show Hidden Products: Check this option to show the hidden product in the carousel. By default it is unchecked.
(5) Hide Out of Stock Products: Check this option to hide those products which are unavailable/ Out Of Stock. By default this option is unchecked.
(6) Hide On Sale Products: Check this option to hide already-sale products.
(7) Hide Free Products: Check this option if you want to hide free products.
(8) Hide Product without Thumbnail: Check this option to hide the product if the featured image does not exist.
(9) Order By: You can order the Products with different values Which means you can determine which product to be displayed at the beginning of the slider. There are several options for ordering the categories on the slide:
- ID
- Date
- Random
- Title
- Modified
- Menu Order
(10) Order: You will be able to show the products in Ascending or Descending order. It will depend on the above “Order By” option.
(11) Limit: Set how many products you want to show in the WooCommerce Product Slider.
(12) Preloader: The slider will be hidden until the page loading is completed. If it is ‘Enable’ then a loading icon will show until the slider fully loads.