After purchasing the plugin, you may look forward to a quick guide where you will get all the information from installation to displaying the Testimonial showcases on the web pages. In this article, you will get step-by-step guidelines to use the plugin in no time.
Installation
After downloading the plugin, you’ll find the files in the zip folder on your computer named testimonial-pro.zip. Please follow the steps below to install the “Real Testimonial Pro” version.
1. Go to your WordPress website Dashboard.
2. Navigate to Plugins→ Add New→ Upload Plugin.
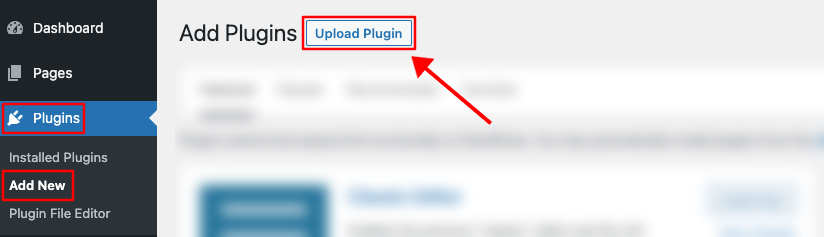
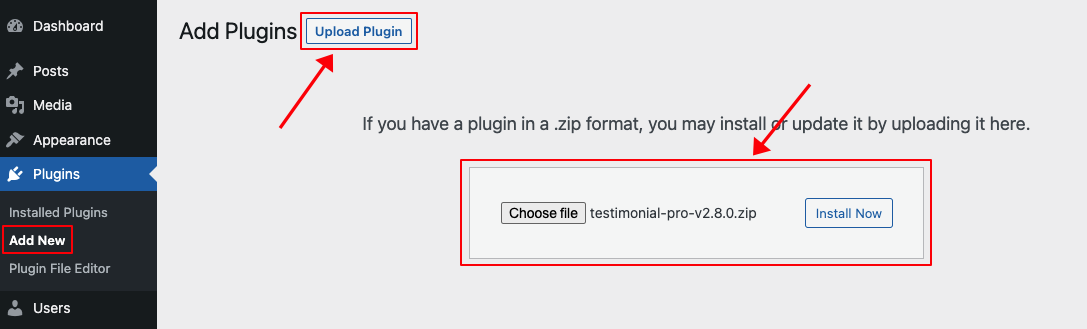
3. Once you click the “Upload Plugin” button, you will get the plugin upload option from your computer. Select the “testimonial-pro.zip” file from your computer and click on the “Install Now” button.
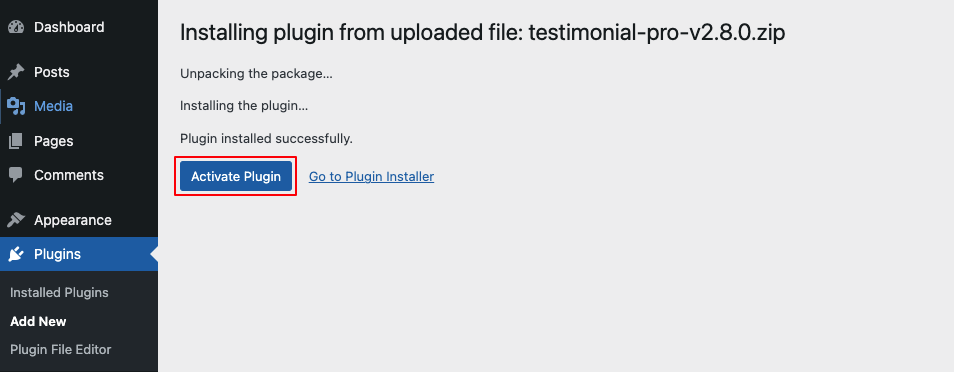
4. After successfully installing the plugin, click “Activate Plugin “ to activate the plugin.
License key Activation
After activating the plugin, you will be redirected to the License Activation page. Get the License key from your Shapedplugin Account and insert it into the License Activation Field.
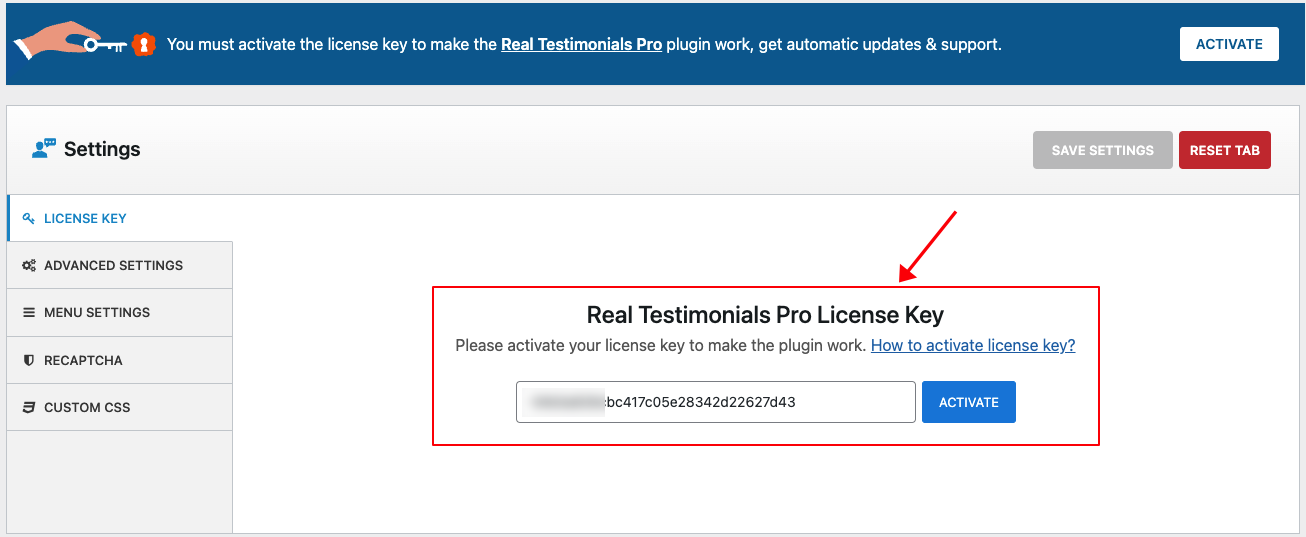
After activating the License Key, you are ready to create and display the Testimonial Showcase on your web pages.
Add/Edit a Testimonial
After activating the plugin, you will see Real Testimonials Menu in the WordPress admin dashboard.
Firstly, Go to Real Testimonials → Add New, and add as many Testimonials as you want.
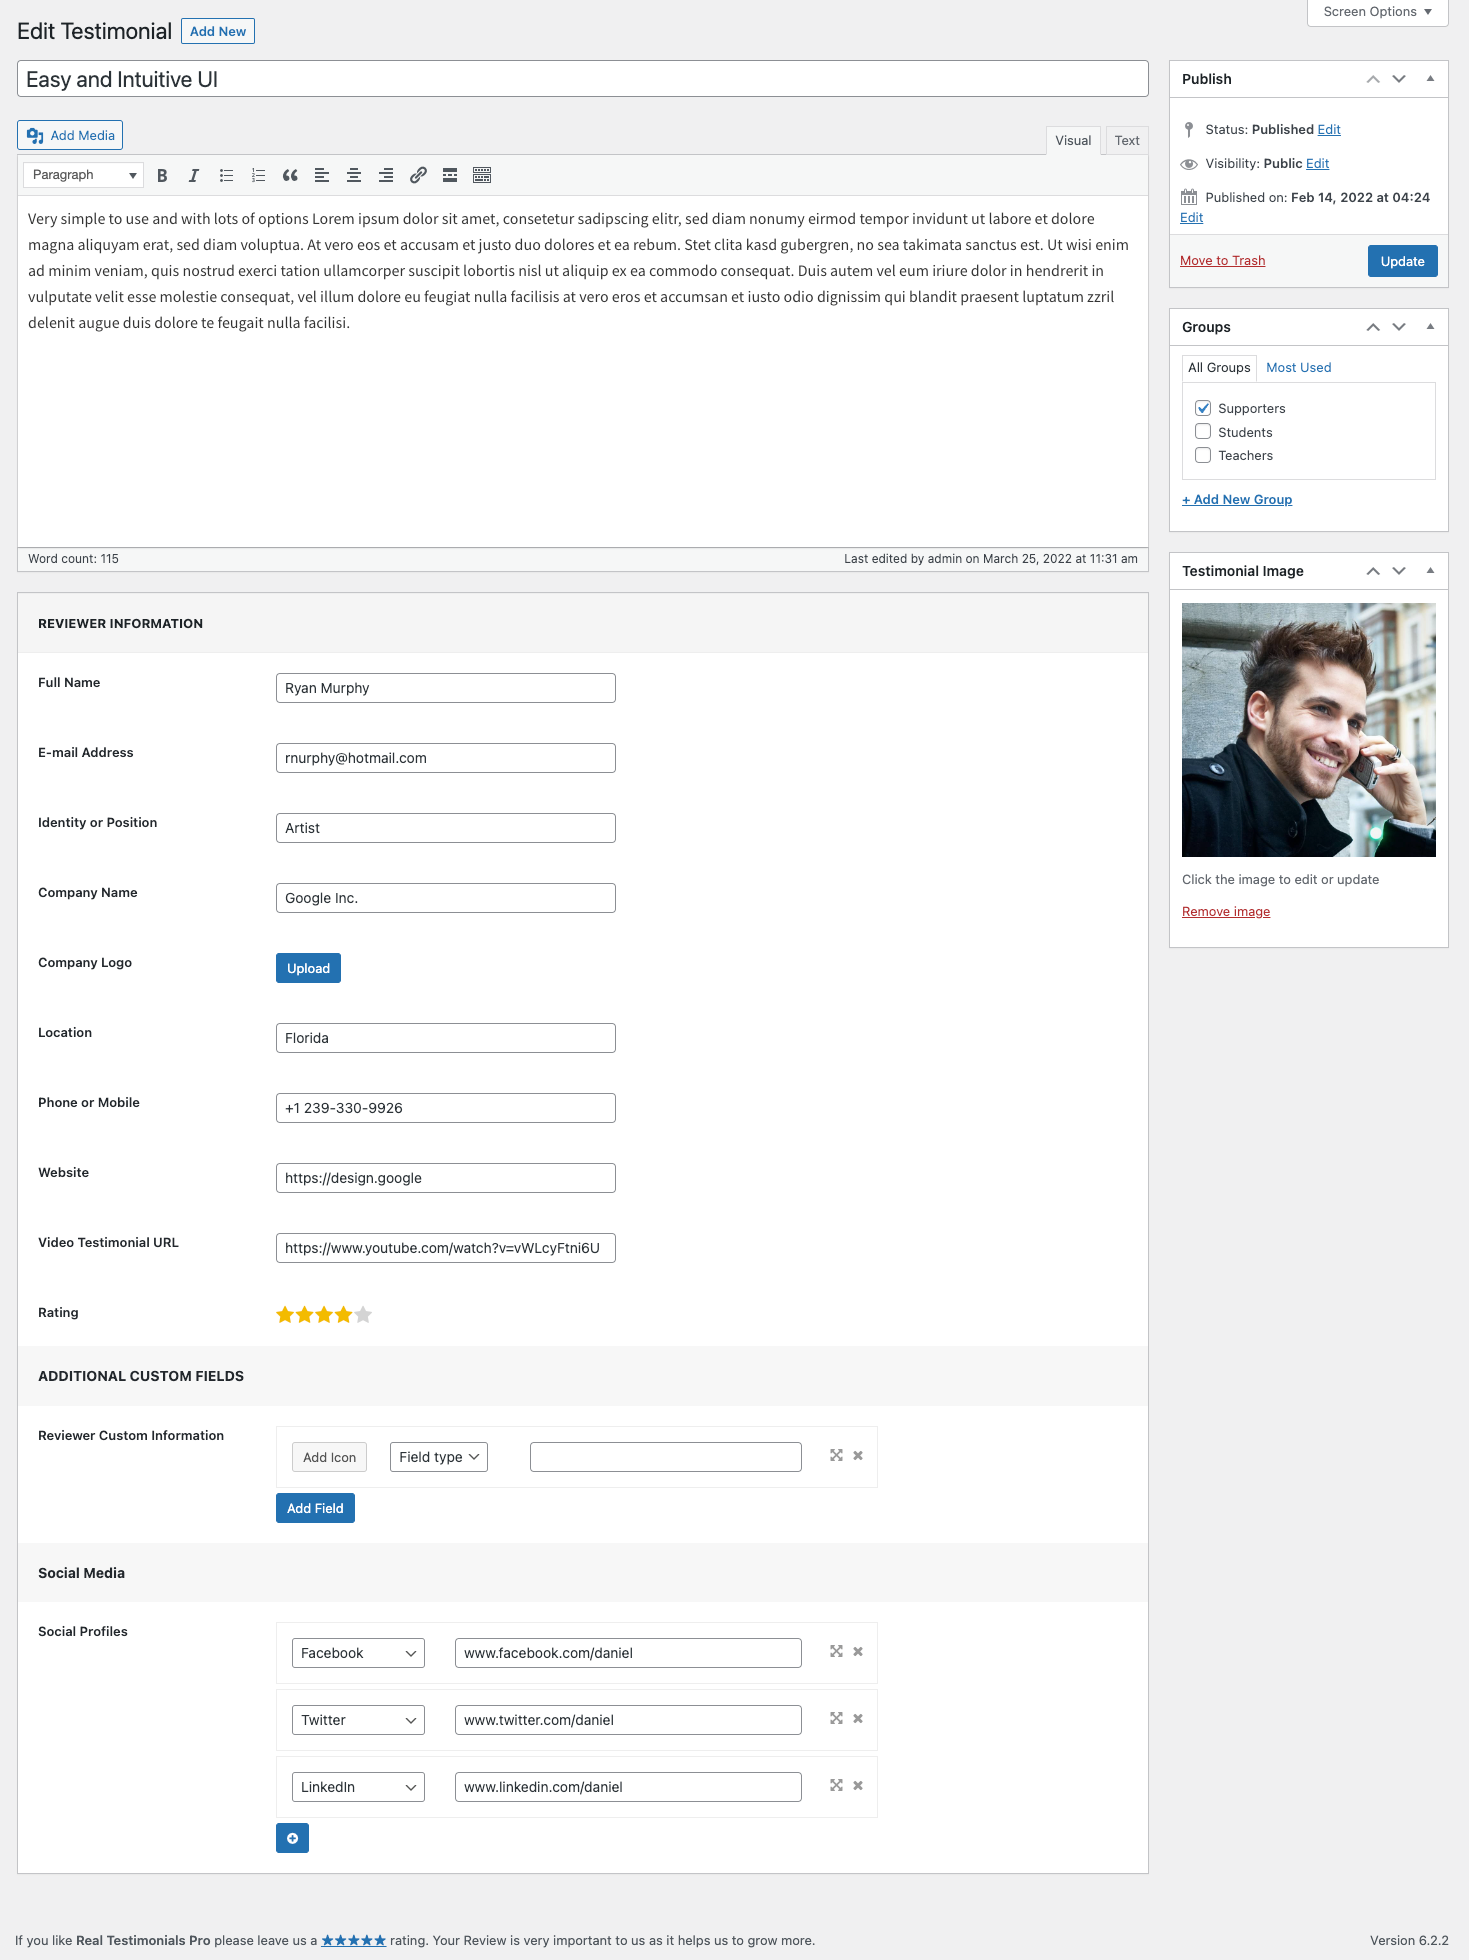
Fill out the Testimonial Detail Fields-
- Testimonial Title
- Description
- Full Name
- Email Address
- Identity or Position
- Company Name
- Company Logo
- Location
- Phone or Mobile
- Website
- Video Testimonial URL
- Rating
- Reviewer Custom Information
- Social Profiles
- Groups and
- Testimonial Image
Click on the Publish button to save the changes you have made. It will look something like the below-
Create a Testimonial View
Creating a Testimonial View is super easy and fast. It can be done within a minute.
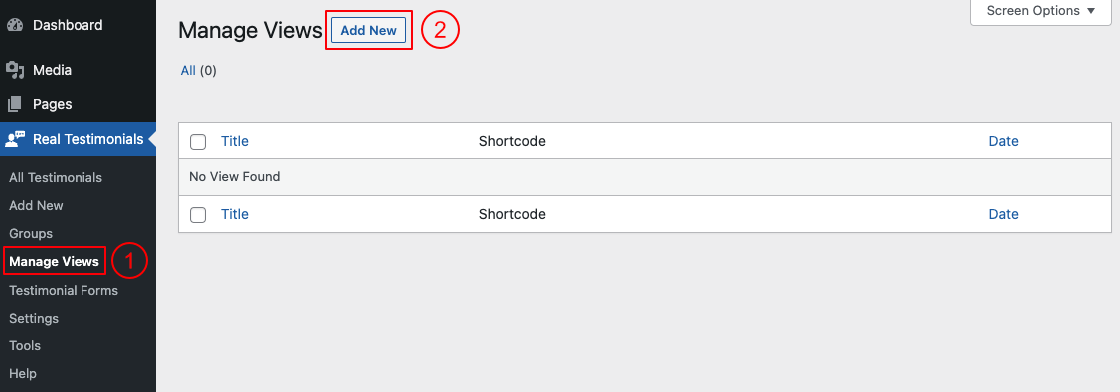
(1) Click on the Manage Views underneath the Real Testimonials Menu.
(2) Click on the Add New button.
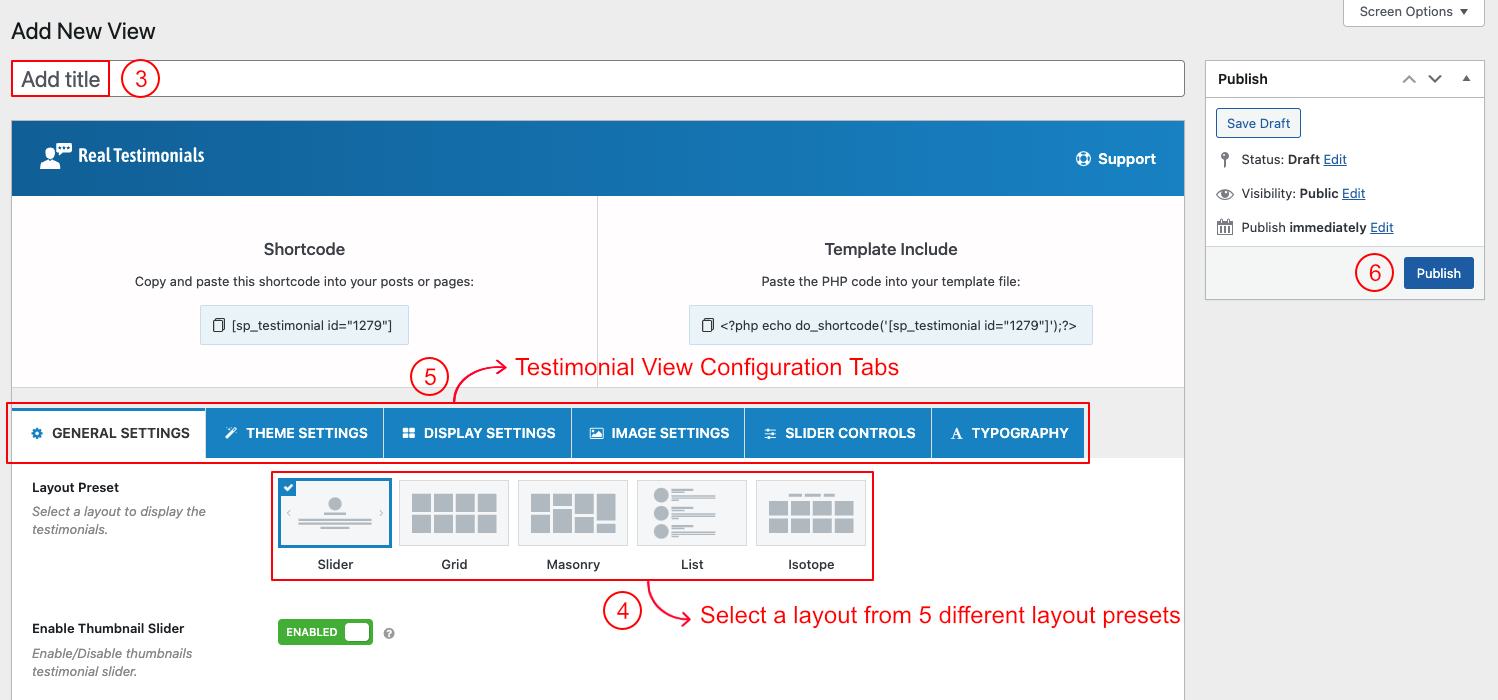
(3) Type a Section Title for your Testimonial View (optional).
(4) Select a Layout from→ Layout Presets (Slider, Grid, Masonry, List, and Isotope).
(5) You can Customize the Testimonial View Settings Tabs as you want.
(6) And then click on→ Publish Button.
Displaying the Testimonial View
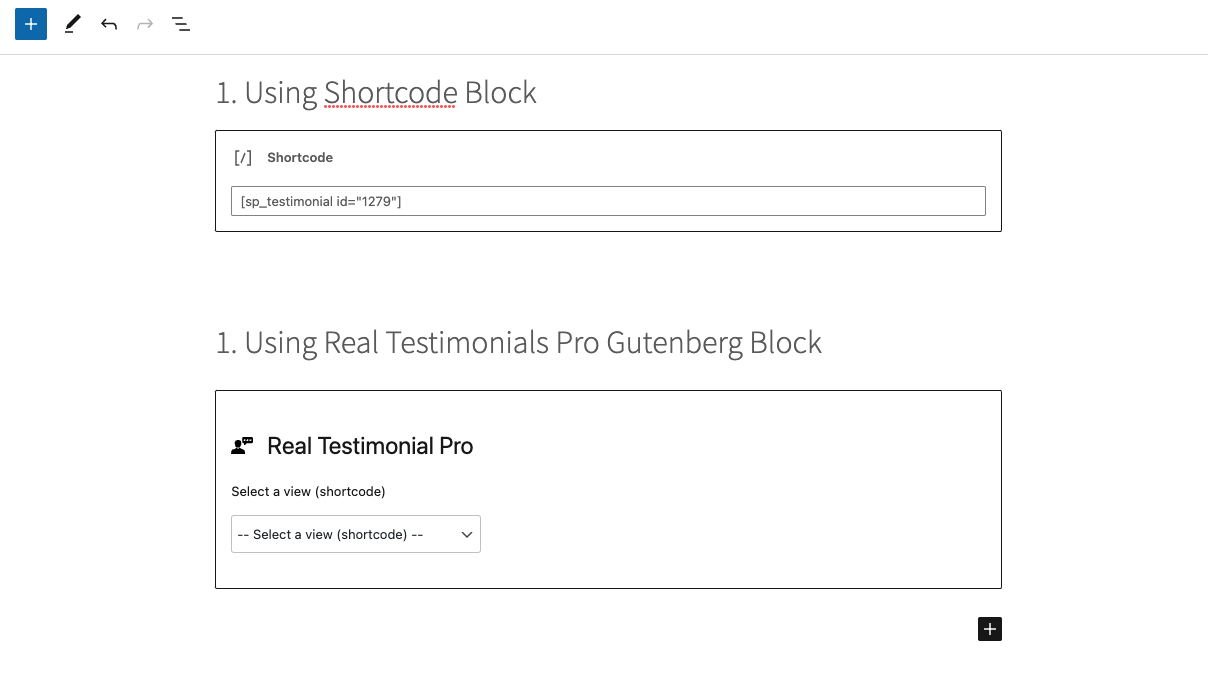
After clicking on the publish button, copy the Shortcode and paste it into Webpages, Widgets, or anywhere you want to display your Testimonials Showcase.
You can insert the shortcode in a Real Testimonials Pro Gutenberg block. Also, you can use a shortcode, text, or code block to insert the shortcode.
Testimonial View Demo

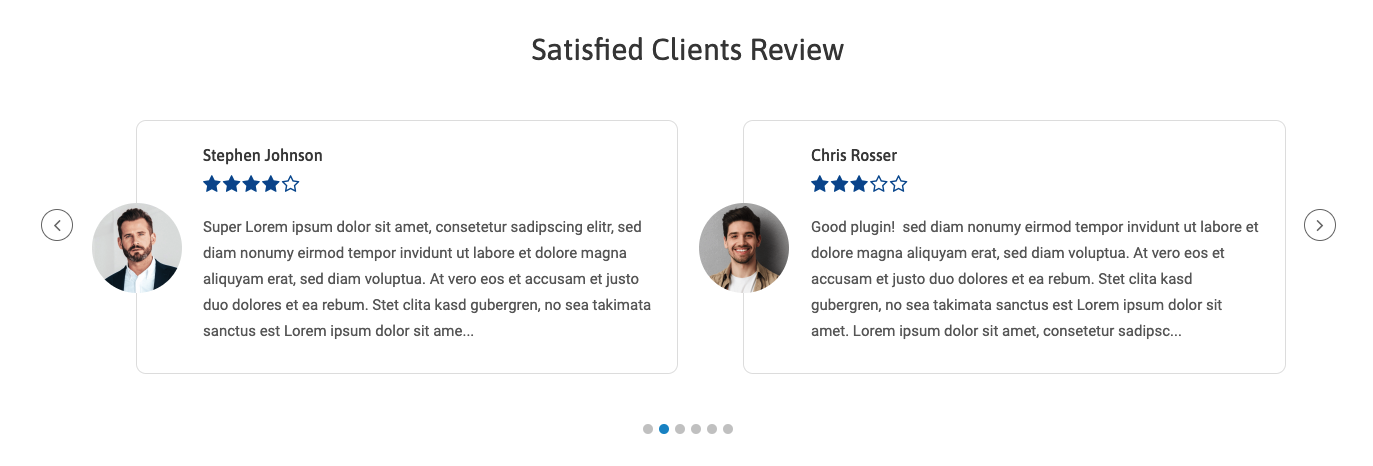
More Demos Here→