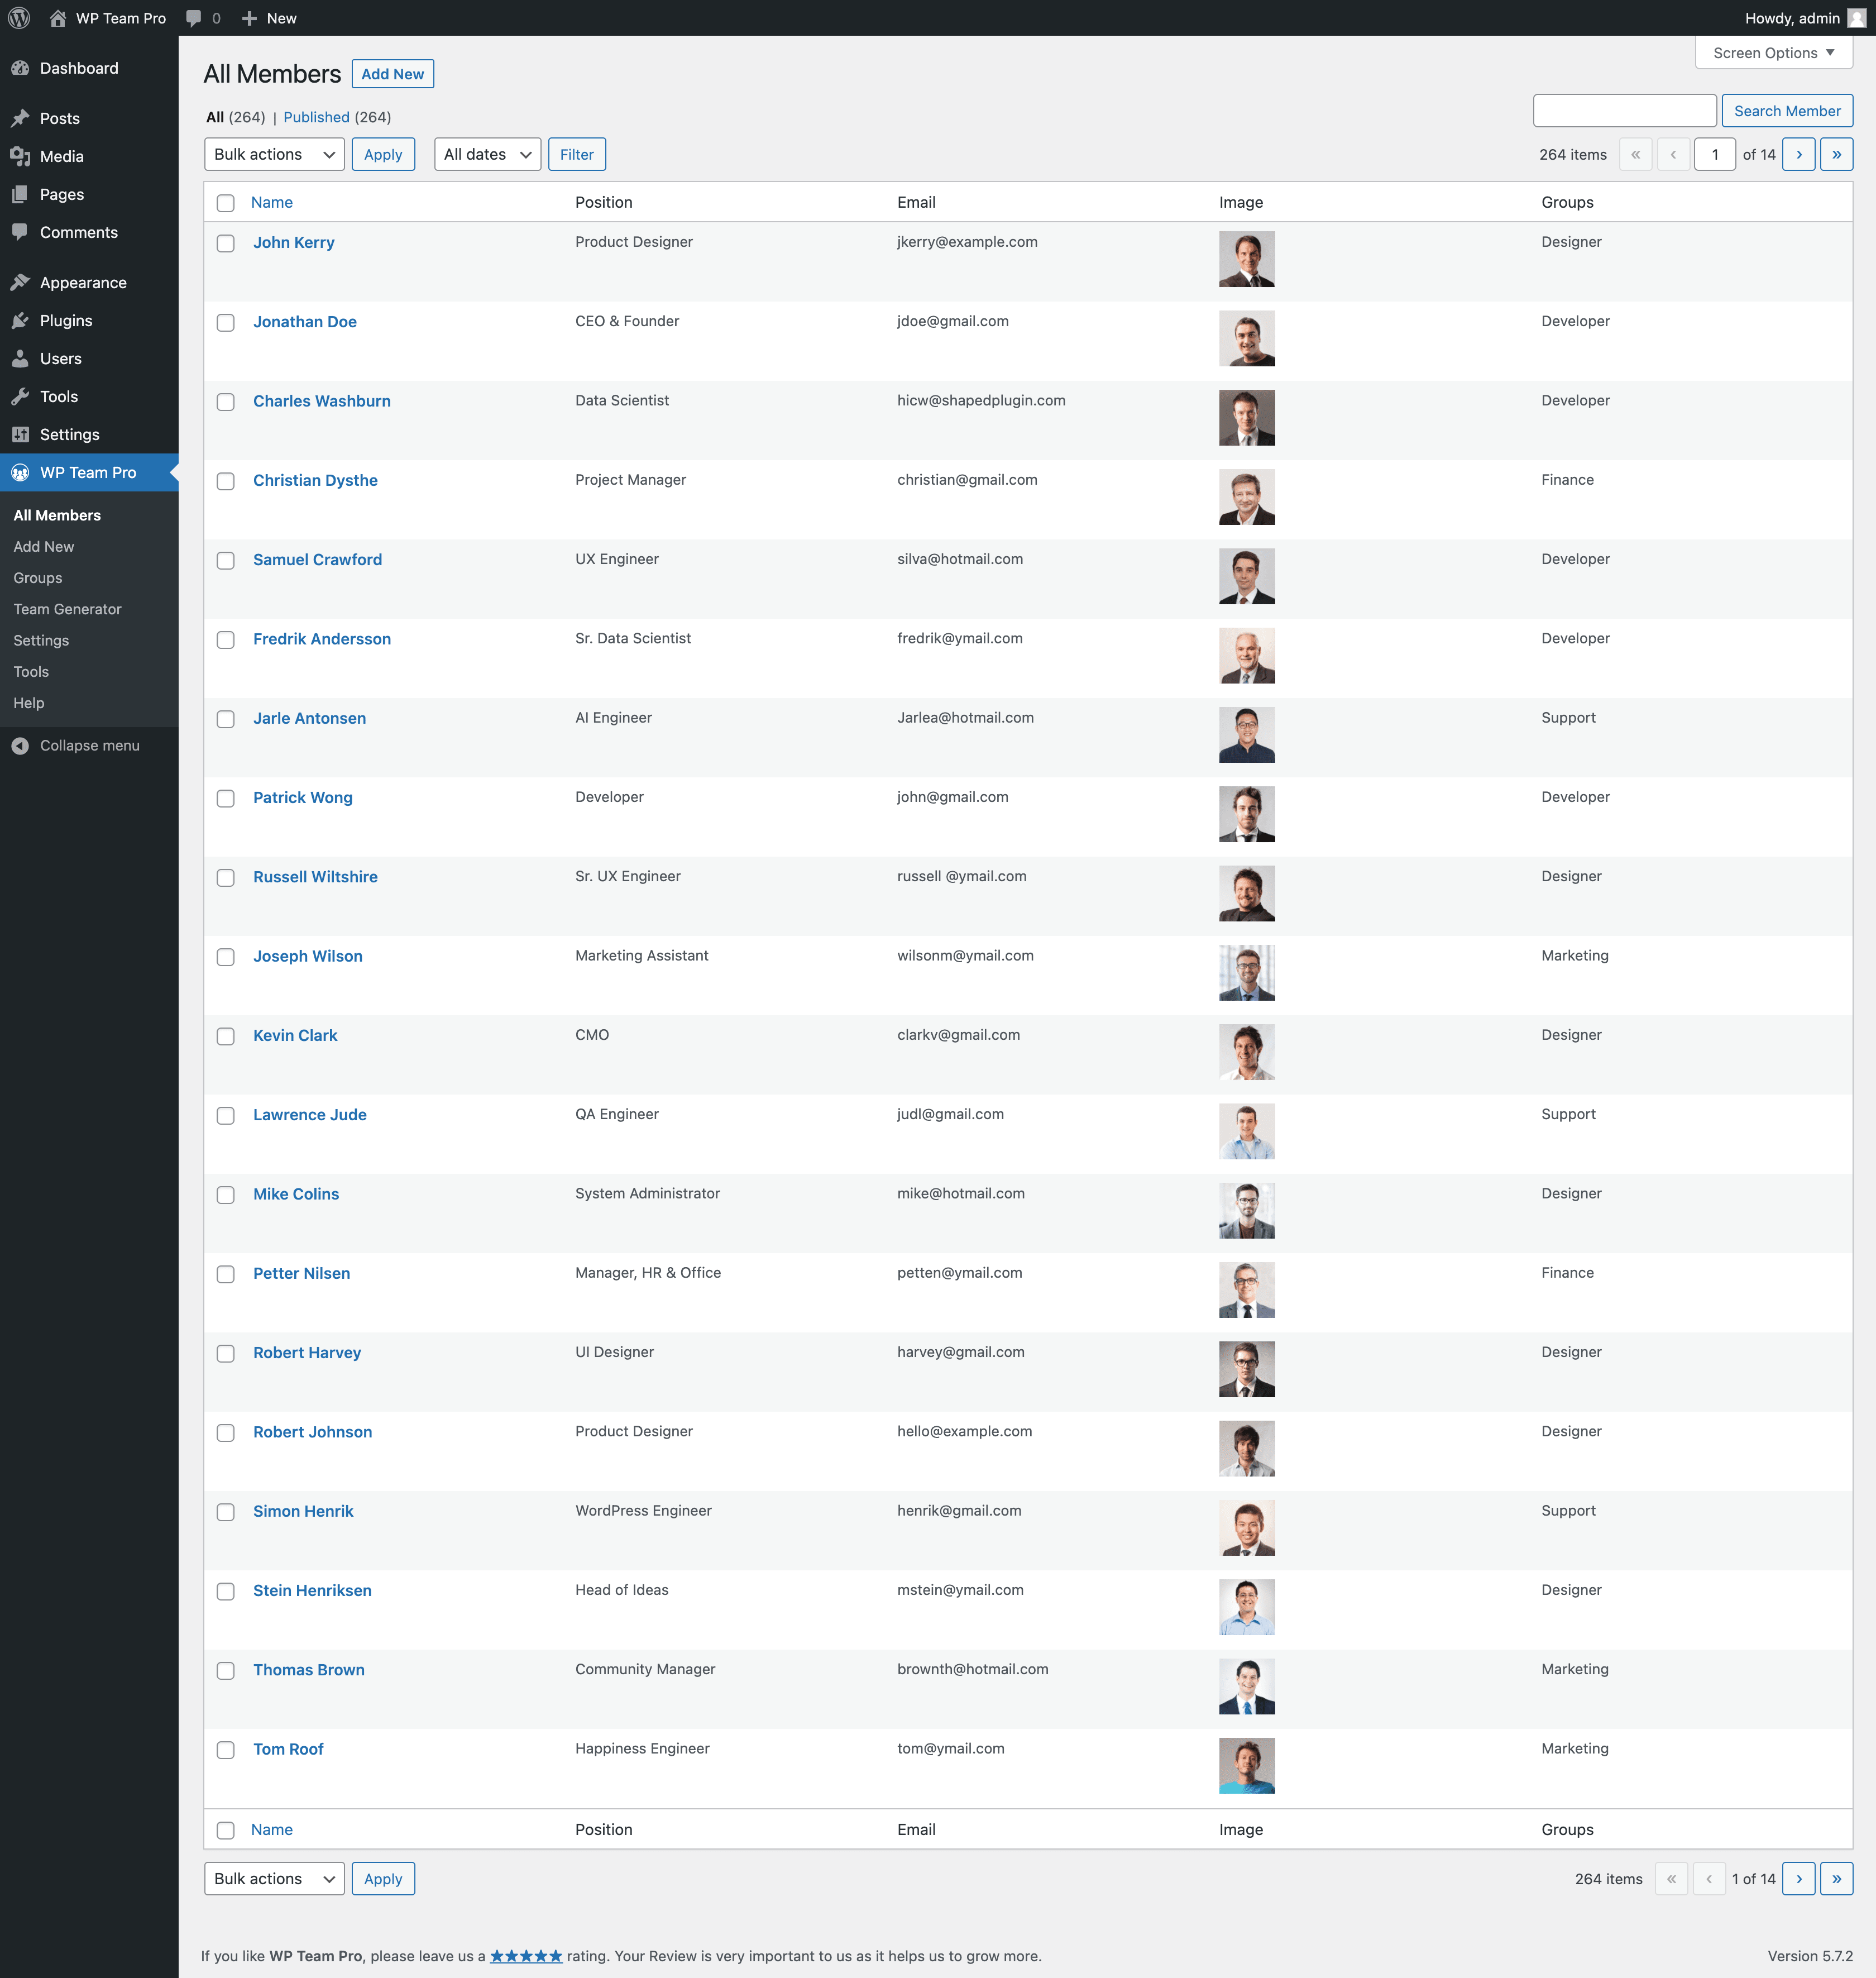
After activating the plugin, you will see WP Team Pro in the WordPress admin dashboard.
Firstly, Go to WP Team Pro → Click on Add New Member, and add members as many as you want.
Fill up the details for Member Name, Full Biography, Details (Position/Job Title and Short Bio), Additional Information, Skills, Social Icons, Photo/Image, and Photo/Image Gallery, etc. properly.
Click on the Publish button to save changes.
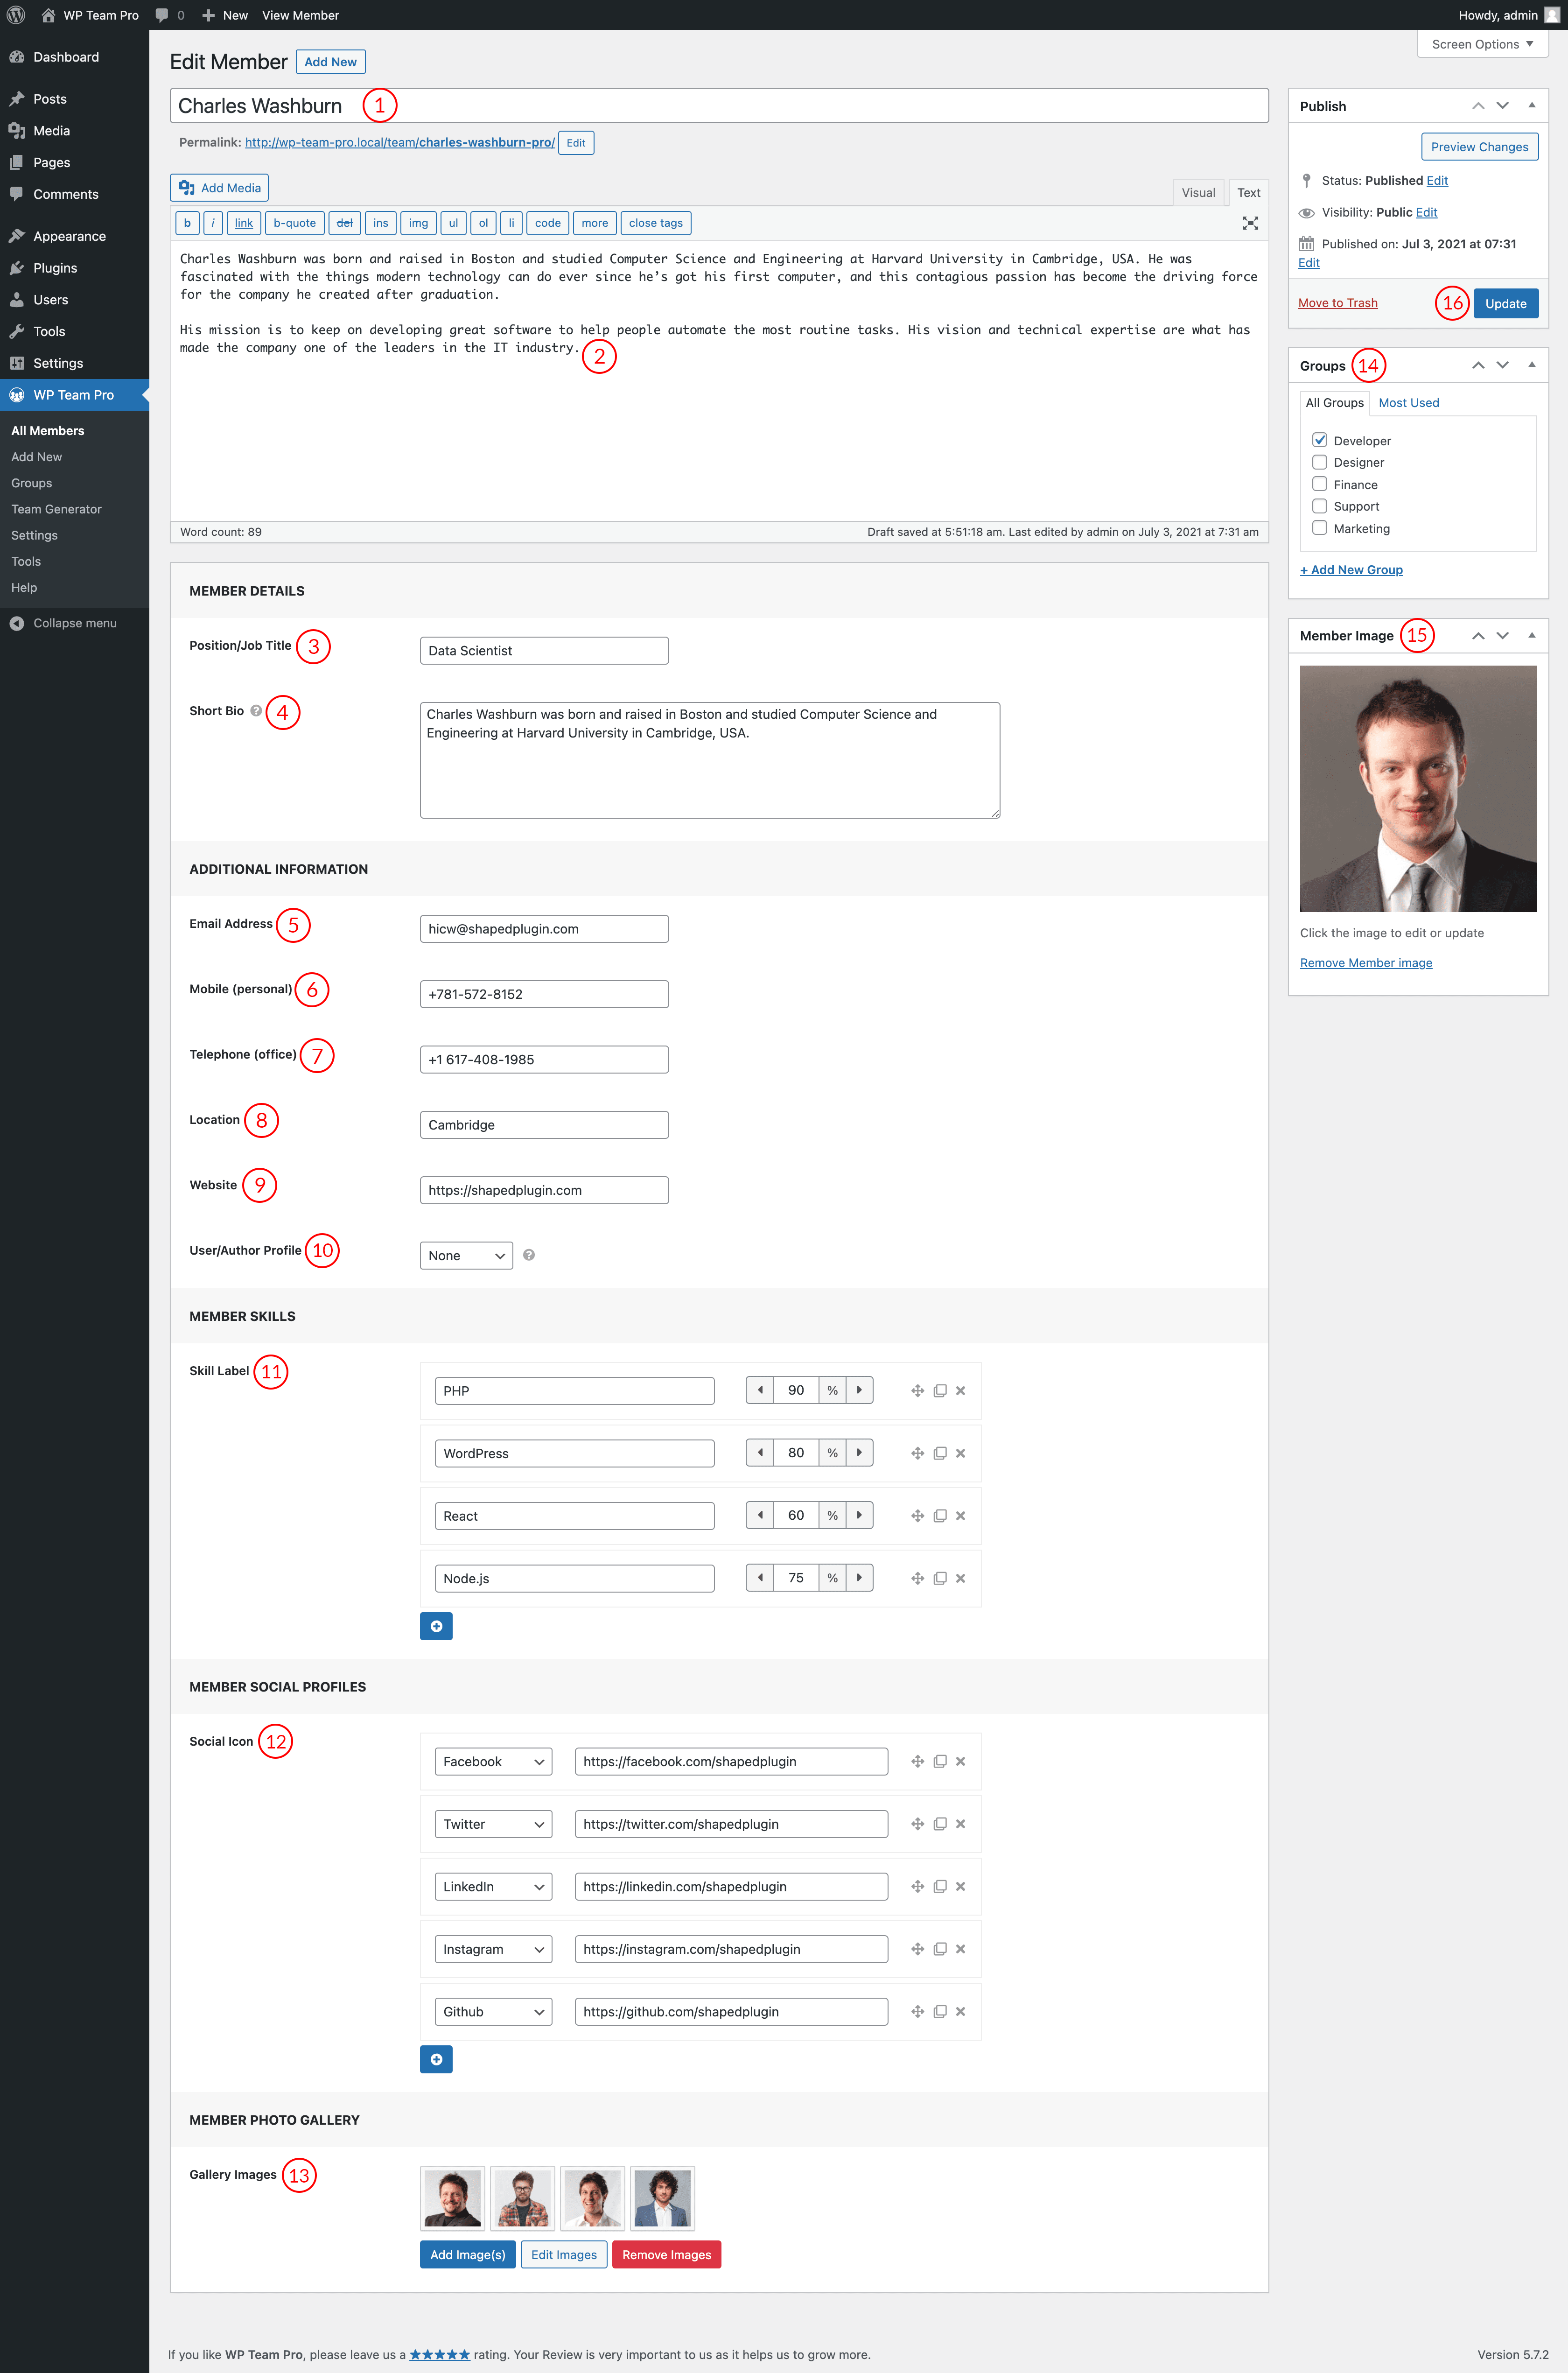
1. Name: Enter Member Name here.
2. Description: Input the full Bio here. It will be shown on the member’s single page.
MEMBER DETAILS
3. Position/Job Title: Input the position name here like Software Engineer.
4. Short Bio: Input the Bio summary here. It will be displayed generally in all the layouts.
ADDITIONAL INFORMATION
5. Email Address: Add email address here.
6. Mobile (personal): Add mobile number here.
7. Telephone (office): Add telephone number here.
8. Location: Add the member location here.
9. Website: Add member’s website URL address here.
10. User/Author Profile: If a member has an account on your site, the user role can be selected here to show all the posts he created. If the user has a post, the post title will be shown on a single page by selecting the user role here.
MEMBER SKILLS
11. Skill Label: Add some skills with a percentage here. Move the skills to up-down by adopting the drag & drop system.
MEMBER SOCIAL PROFILES
12. Social Icon: Add some social profiles here. The linked icons will be displayed in all the layouts.
MEMBER PHOTO GALLERY
13. Gallery Images: Add a gallery of images here. All these images will be scrolled as a slider on the POPUP mode.
14. Groups: You can add the member under a group.
15. Member Image: An image of the member can be added by clicking the ‘Set Member Image’ button.
16. Click on the Publish button. By clicking on the publish button all the changes will be saved.
You can add unlimited team members this way. You’ll find All Members after adding members similarly →